
So you would like to create a printable/resource for commercial purposes, however the artist terms state that you must “flatten” their graphics… huh? … What does that even mean!?
Well, it’s not too hard to understand when you use my “laminator” analogy.
Let me explain.
You have printed off 5 photos of you and your gorgeous new born baby. Granny would absolutely love to have a collage of the photos on her fridge.
These are your options:
- Use blu-tack to secure them to card stock… Hopefully the other grand kids won’t walk by and remove them!
- You place them in a laminator pouch and laminate. They are now “flattened” into 1 layer, the other kids have no hope of removing any of the photos now 😀
And that’s basically the idea of it.
Flattening means that you have merged all your layers, all your items into 1 layer. It is a critical step in protecting your work, as well as the artists work.
So how exactly is it done digitally?
You won’t need anything fancy. As a matter of fact, this can be done using the free software you’ve probably already got on your computer.
All you need to do is create your page/slide using a program such as Publisher or PowerPoint.
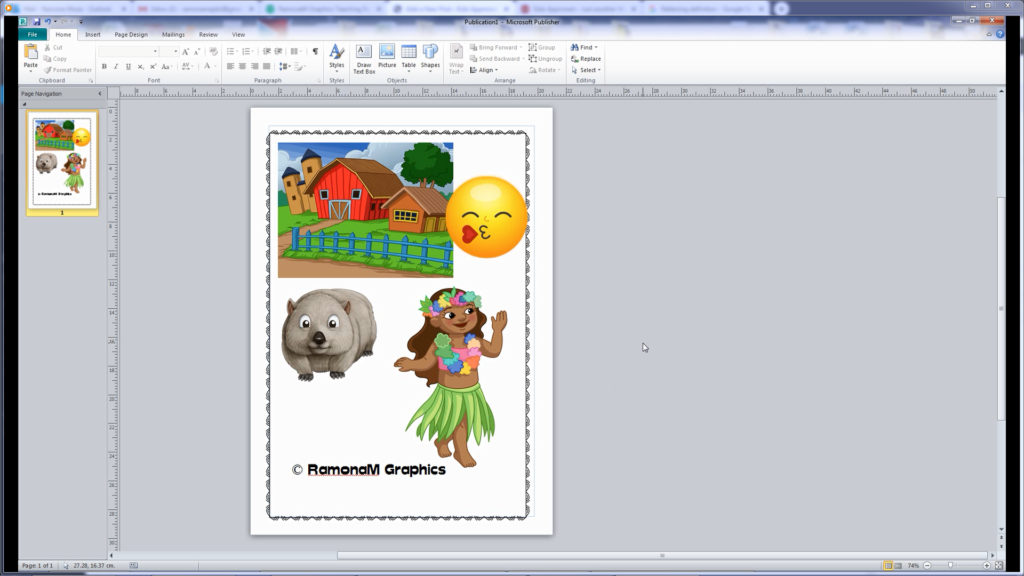
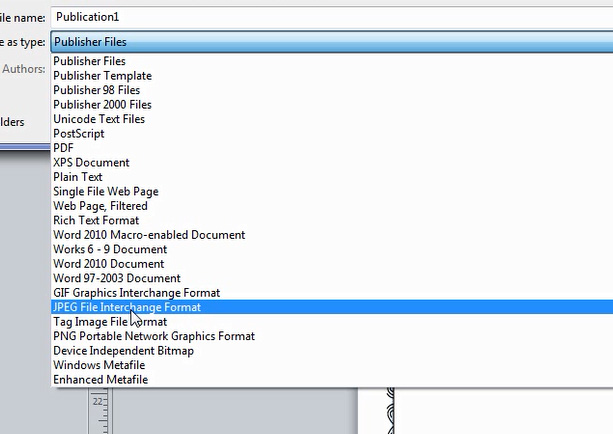
Then save as JPEG. This will automatically “flatten” all the elements on your page/slide.
Once you have saved all your pages/slides as a JPEG you need to open up the program again, and insert each of the JPEG images, then you will be able to save as a PDF.
This is the free way of doing it. If you invest in Acrobat DC, the process is simpler again 🙂
I hope you have found this helpful, and if you have any questions, please leave a comment.
Don’t forget to subscribe to get notifications of any other tips and tutorials.
RamonaM xo